A backbend is one of the most visually striking and physically rewarding movements in dance, yoga, and gymnastics. Whether your goal is a supported bridge, a full wheel pose, or the deep chest-opening backbends seen in contemporary dance and aerial arts, the path to getting there is the same: building the right combination of spinal mobility, shoulder flexibility, hip flexor length, and back extensor strength. This guide walks you through every stage of that journey safely and systematically.
The most common mistake people make when learning backbends is attempting to force the spine into a deeper curve without first addressing the underlying restrictions that are preventing it. A backbend is not just a spine movement — it requires mobility from the thoracic spine, flexibility in the hip flexors and quadriceps, and significant strength in the back extensors and glutes. Understanding these requirements is the first step to training effectively.
The Anatomy of a Backbend
A backbend is a spinal extension movement, but describing it simply as “bending the spine backwards” misses the complexity of what is actually happening. The spine is divided into three regions: the cervical (neck), thoracic (mid-back), and lumbar (lower back). In an ideal backbend, the curve should be distributed evenly across all three regions, with particular emphasis on the thoracic spine, which has the greatest capacity for extension. Most people, however, have a stiff thoracic spine and compensate by over-extending the lumbar region — which is the primary cause of lower back pain in backbend training.
The shoulders play an equally critical role. In a full wheel pose or deep backbend, the arms are extended overhead with the hands pressing into the floor. This requires significant shoulder flexion and external rotation, as well as flexibility in the pectorals and anterior deltoids. If the shoulders are tight, the body will compensate by collapsing into the lower back rather than opening through the chest.
| Body Region | Role in Backbend | Common Restriction |
|---|---|---|
| Thoracic Spine | Primary site of spinal extension | Stiffness from prolonged sitting |
| Lumbar Spine | Secondary extension; should not be over-loaded | Over-extension due to thoracic stiffness |
| Hip Flexors | Must lengthen to allow hips to extend fully | Tightness from sitting |
| Shoulders / Chest | Must open to allow arms overhead | Tight pectorals and anterior deltoids |
| Back Extensors / Glutes | Provide strength to hold the position | Weakness from sedentary lifestyle |
Why Most People Struggle
The three most common reasons people struggle with backbends are tight hip flexors, limited thoracic mobility, and insufficient shoulder flexibility. These three restrictions are all direct consequences of modern sedentary lifestyles. Sitting for prolonged periods shortens the hip flexors, rounds the thoracic spine into kyphosis, and tightens the chest and shoulders. Attempting a backbend without addressing these restrictions is like trying to open a door that is locked from three sides simultaneously.
Weak back extensors are the fourth major obstacle. The erector spinae, multifidus, and glutes must be strong enough to actively lift and support the spine in extension. Many people have the flexibility to achieve a deeper backbend but lack the muscular strength to hold the position safely. This is why backbend training must include both stretching and strengthening work.
Essential Preparatory Stretches
Before attempting any backbend progression, spend at least 10 to 15 minutes on the following preparatory exercises. These are not optional warm-ups — they are the foundational work that makes the backbend possible and safe. Perform these stretches daily for the best results.
- Chest Opener (doorway stretch): Stand in a doorway with your forearms against the frame at shoulder height. Gently lean forward until you feel a deep stretch across the chest and front of the shoulders. Hold for 45 to 60 seconds. This is the single most important preparatory stretch for backbends.
- Kneeling Hip Flexor Stretch: Kneel on one knee in a lunge position and push your hips forward. Hold for 45 to 60 seconds per side. Tight hip flexors are one of the primary limiters of backbend depth.
- Thoracic Extension over a Foam Roller: Place a foam roller horizontally across your mid-back and gently extend over it, supporting your head with your hands. Move the roller up and down the thoracic spine. This directly targets the most commonly stiff region of the spine for backbends.
- Cat-Cow: On all fours, alternate between arching your back upward (cat) and dropping your belly toward the floor (cow). Perform 10 to 15 slow repetitions. This warms up the entire spine and improves segmental mobility.
- Shoulder Circles and Cross-Body Arm Stretch: Perform 10 large shoulder circles in each direction, then stretch each arm across your body to open the posterior shoulder. This prepares the shoulder joints for the overhead position required in wheel pose.
The 5-Step Backbend Progression
The following progression moves from the most accessible backbend variation to the full wheel pose. Do not skip stages. Each stage builds the specific strength and flexibility required for the next. Spend at least two to four weeks at each stage before progressing, and only advance when the current stage feels comfortable and controlled.
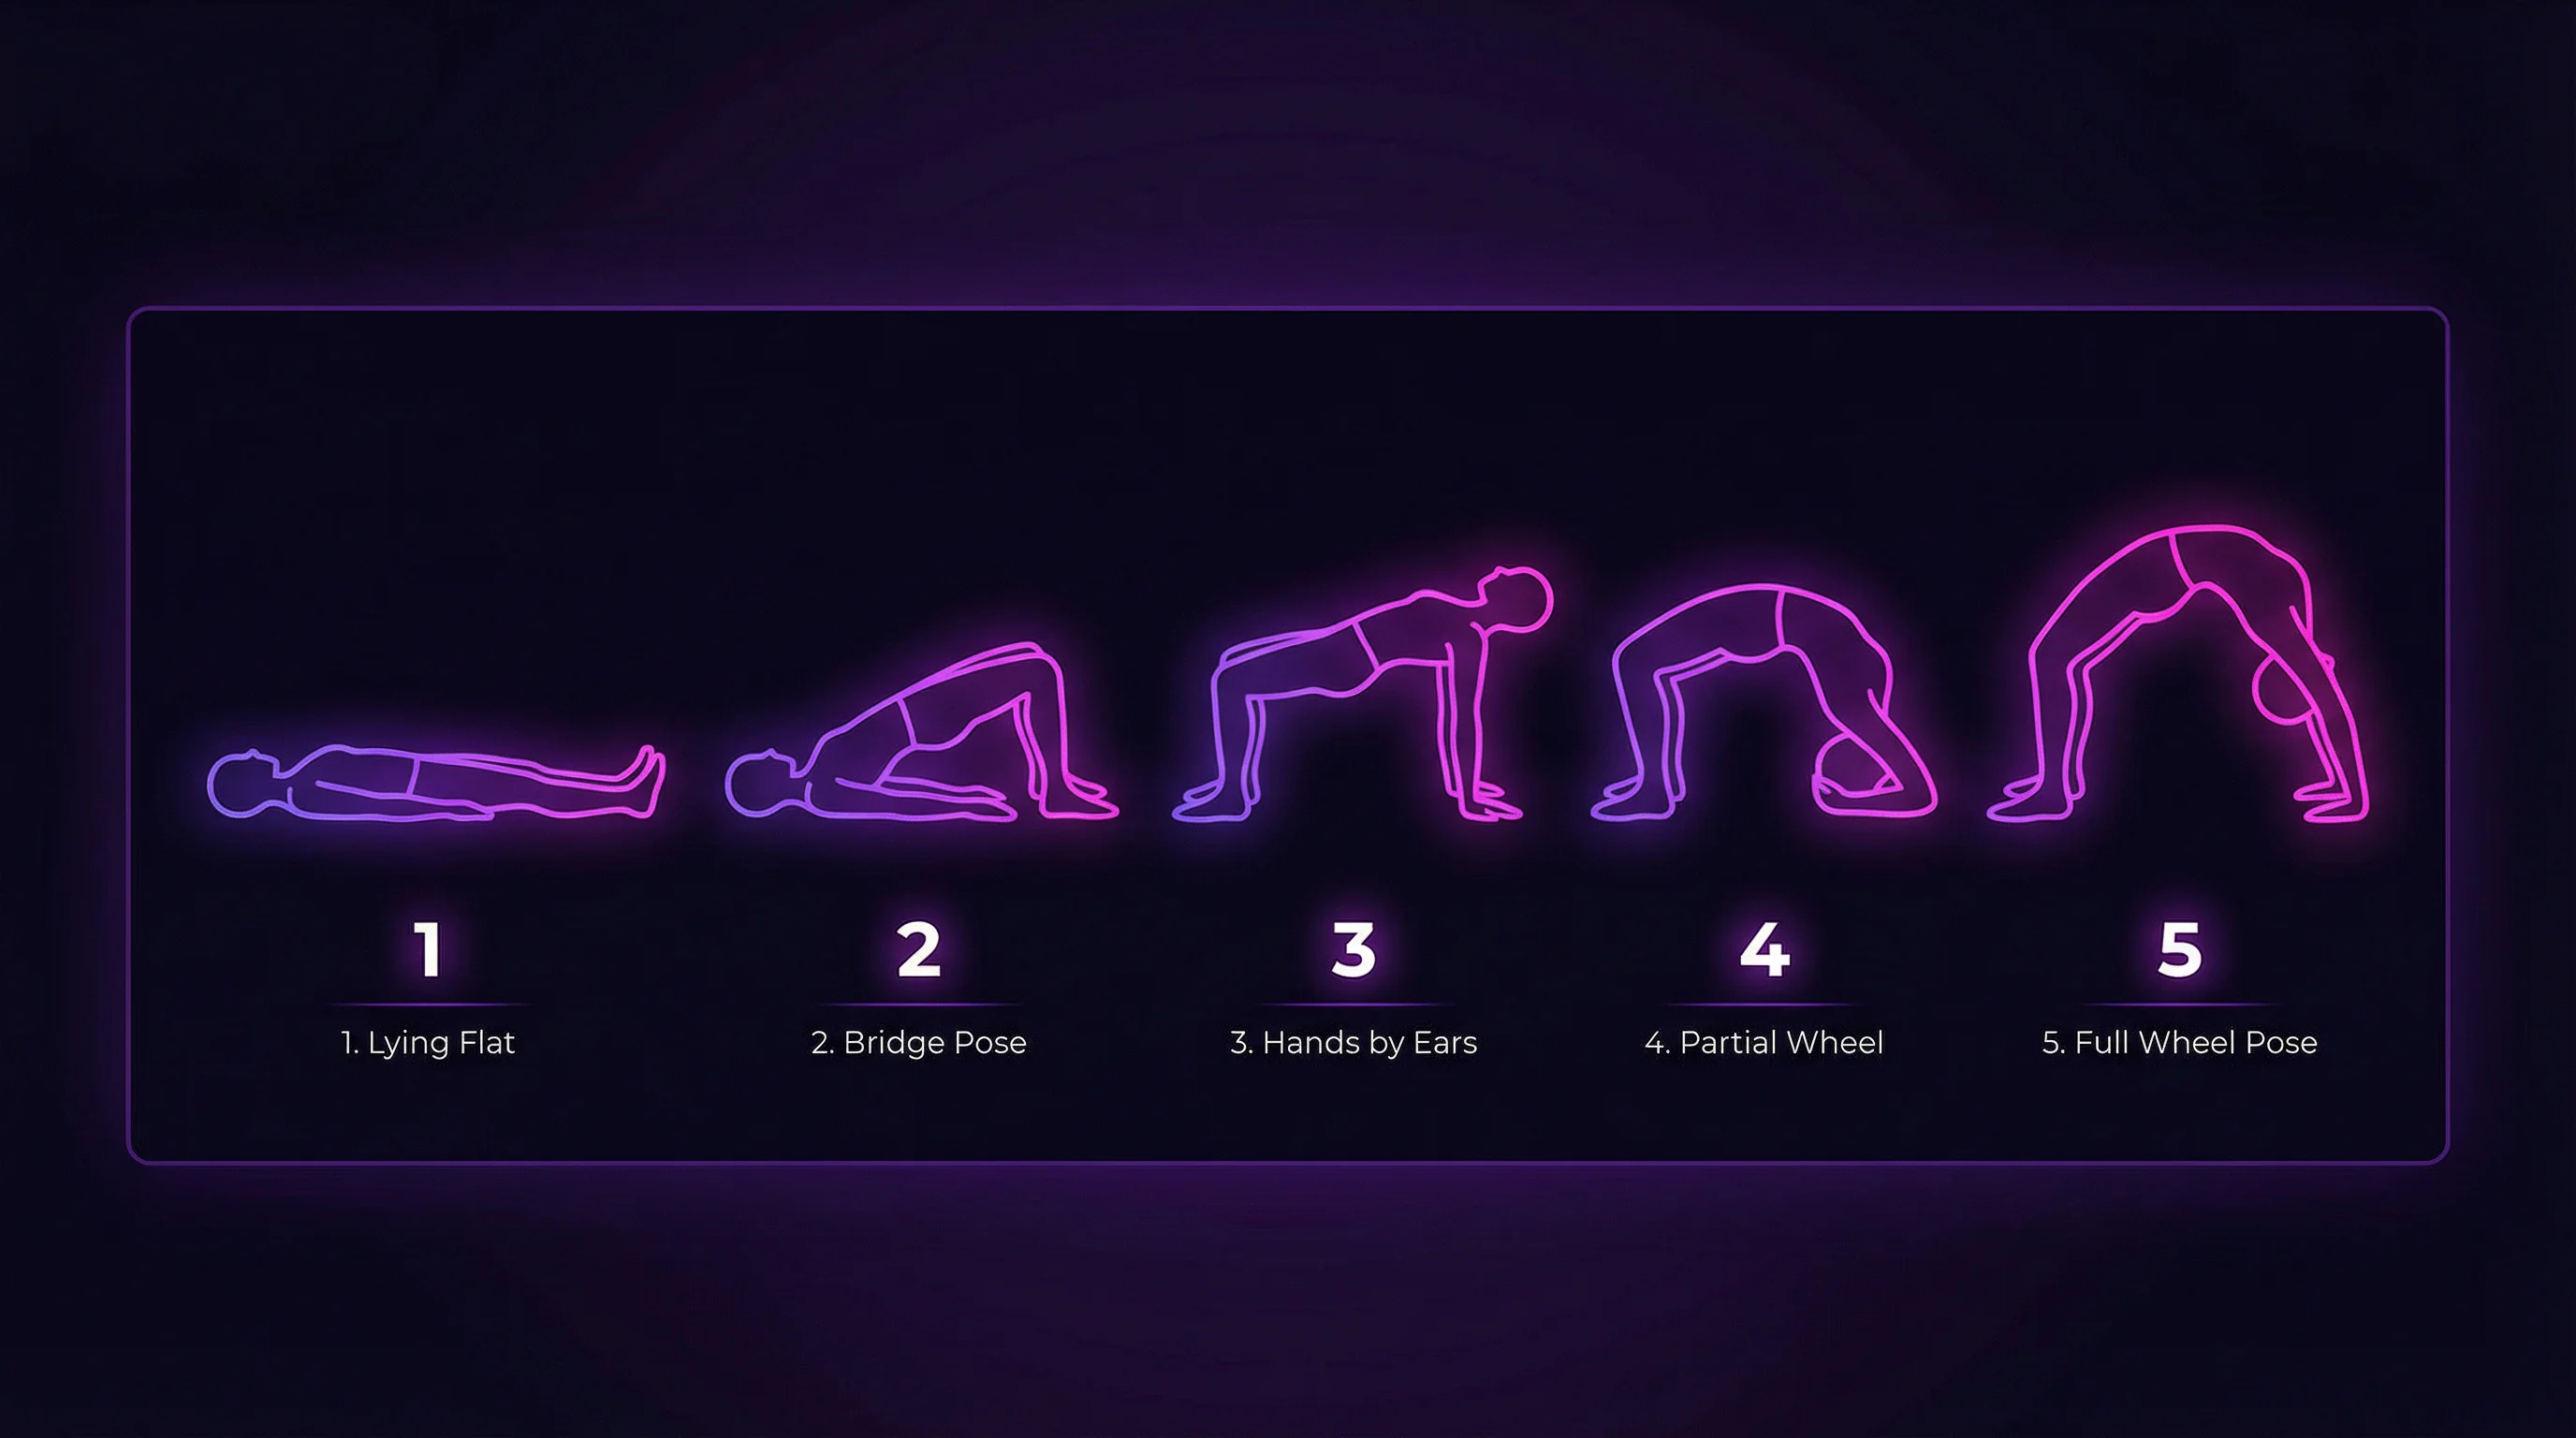
Stage 1 — Prone Back Extension (Cobra Pose): Lie face down with your hands under your shoulders. Press gently into the floor to lift your chest, keeping your hips on the ground. Hold for 30 seconds. This is the most accessible spinal extension exercise and begins to open the chest and thoracic spine without any weight-bearing demands.
Stage 2 — Bridge Pose: Lie on your back with your knees bent and feet flat on the floor, hip-width apart. Press your feet into the floor and lift your hips toward the ceiling, squeezing your glutes at the top. Hold for 30 to 60 seconds. Bridge pose builds the glute and back extensor strength required for deeper backbends while gently opening the hip flexors.
Stage 3 — Supported Wheel (Hands by Ears): From the bridge position, place your hands on the floor beside your ears with your fingers pointing toward your shoulders. Press into your hands and feet and attempt to lift the top of your head off the floor. Hold for 5 to 10 seconds. This stage introduces the shoulder and chest opening required for full wheel.
Stage 4 — Partial Wheel: From the supported position above, begin to straighten your arms and legs as much as possible, lifting your head fully off the floor. Your arms may not be fully straight yet. Hold for 10 to 20 seconds. Focus on pressing the chest forward and opening the shoulders rather than pushing the hips higher.
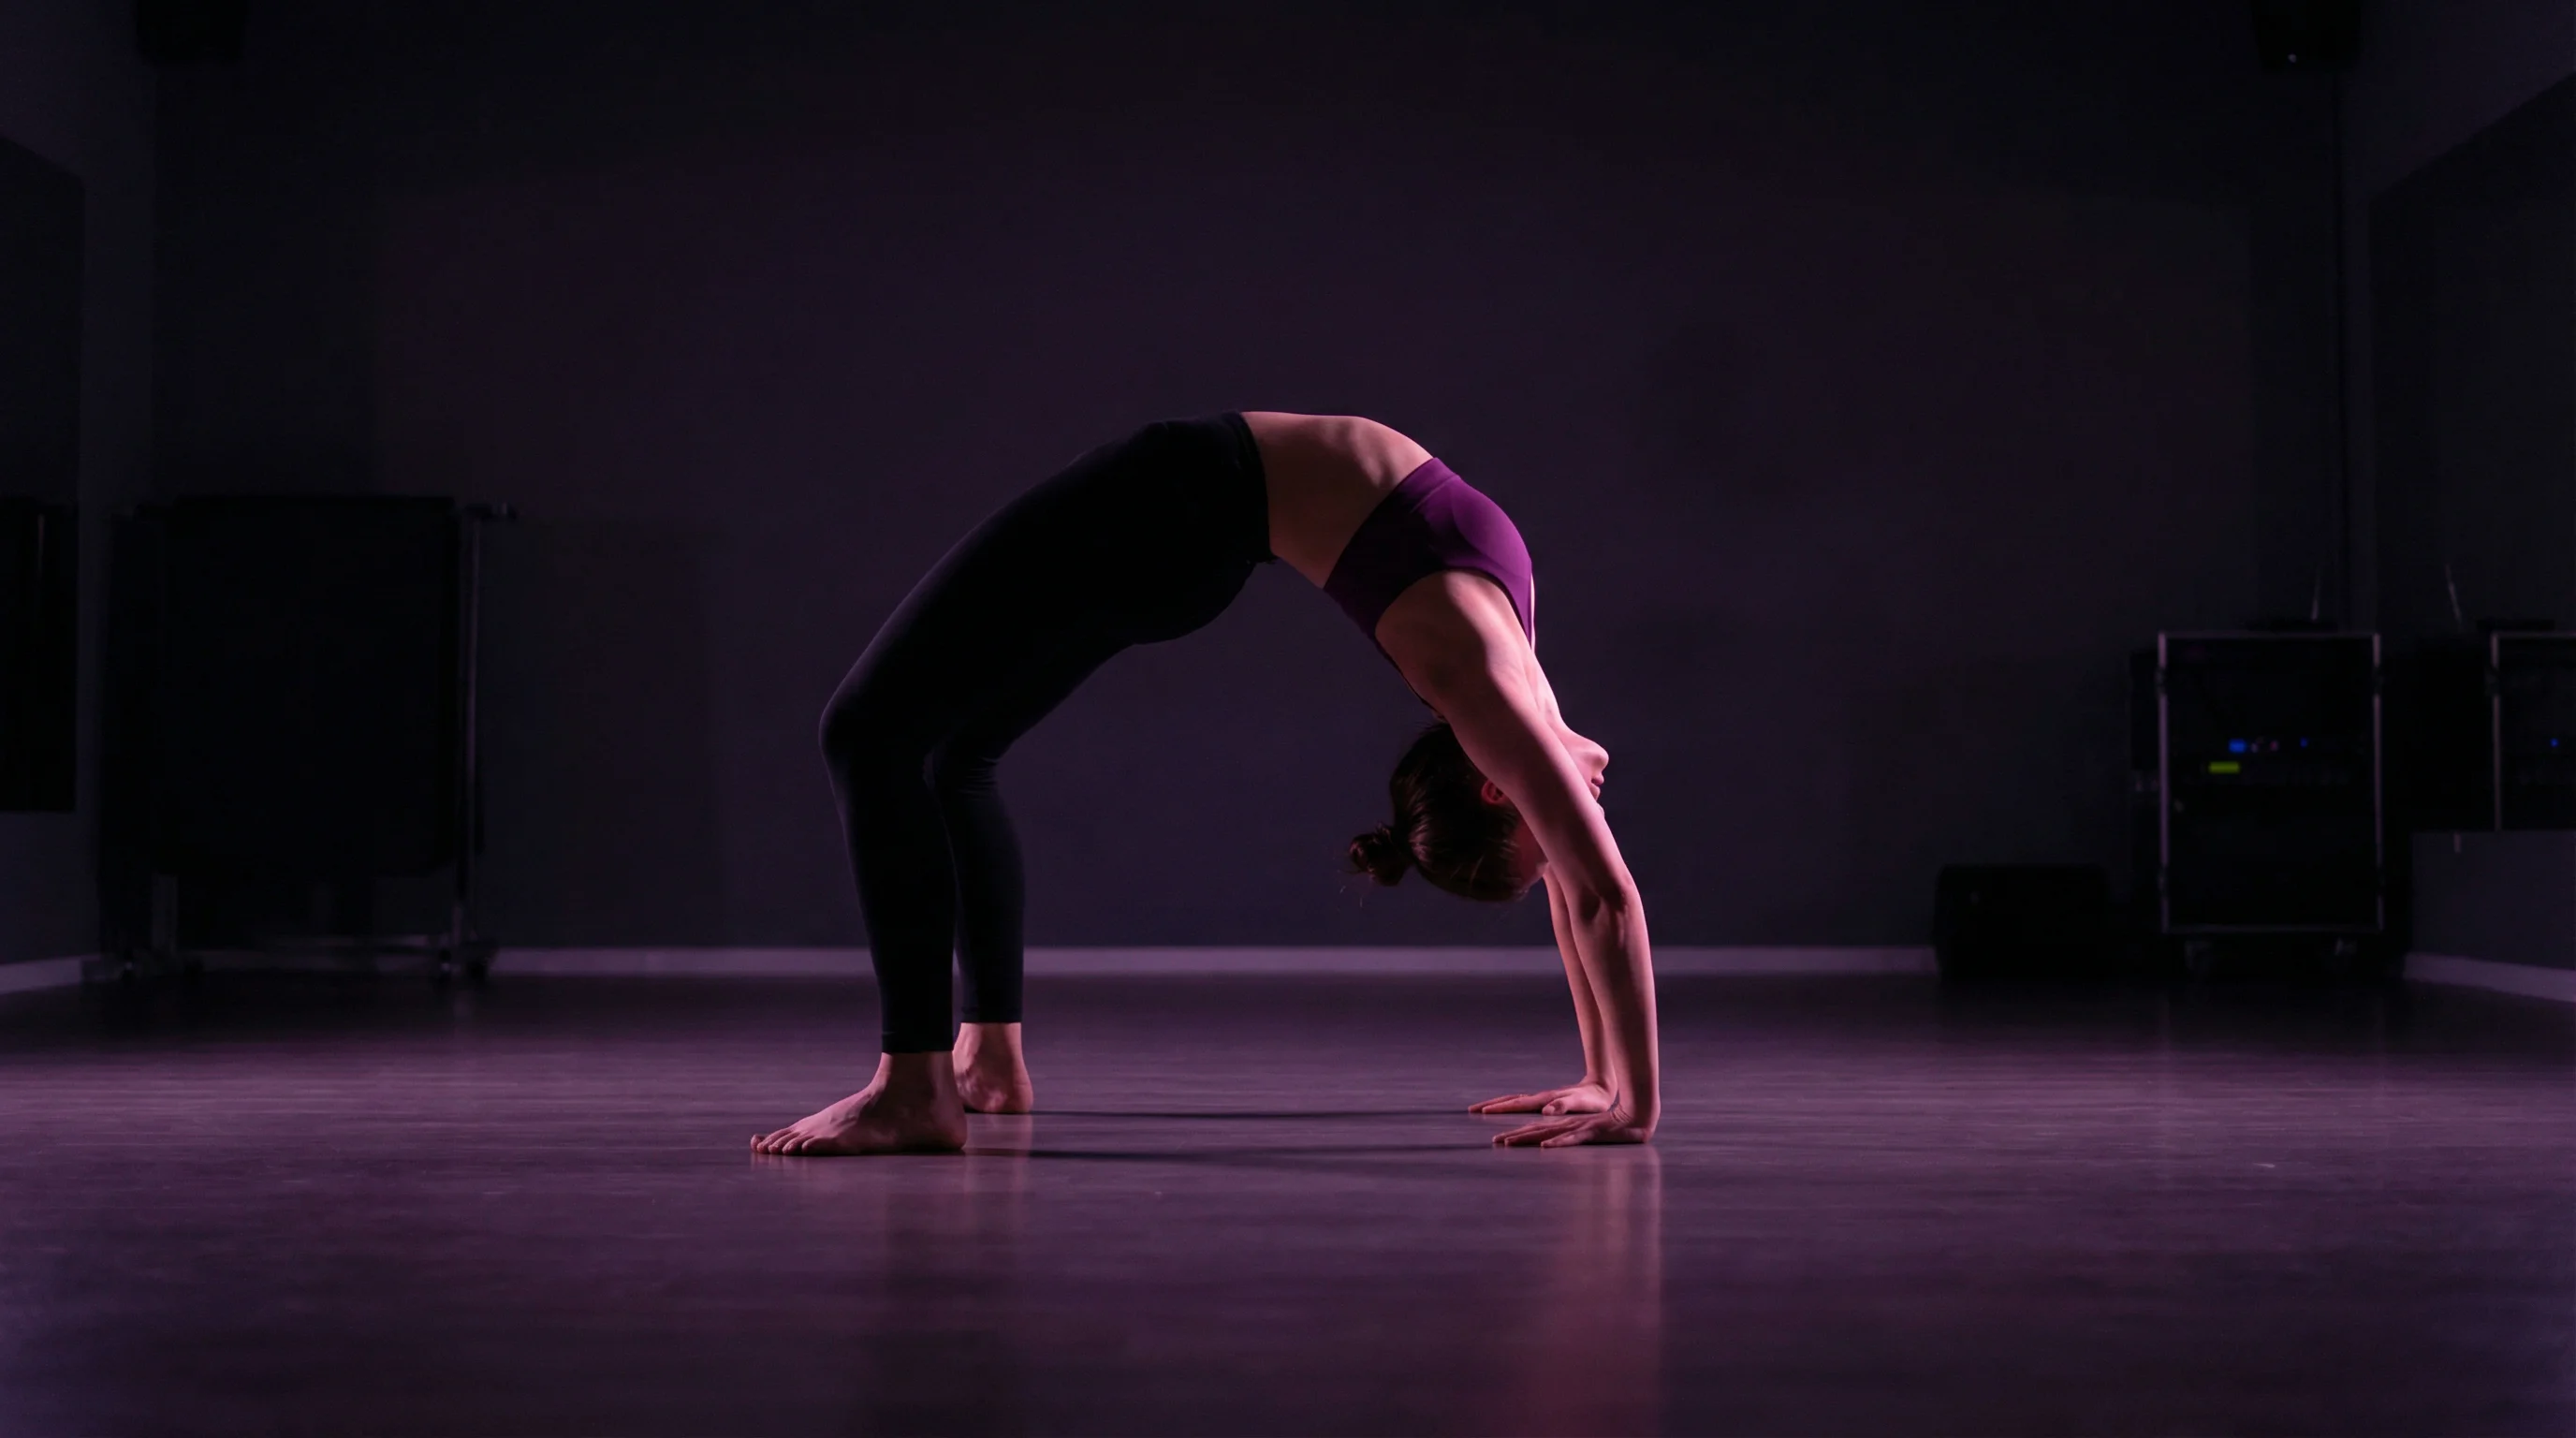
Stage 5 — Full Wheel Pose (Urdhva Dhanurasana): From stage 4, work toward fully straightening both the arms and legs. The chest should be open, the hips lifted high, and the weight distributed evenly between hands and feet. Hold for 20 to 30 seconds, breathing deeply. Exit by tucking your chin and lowering slowly to the floor, never collapsing.
Bridge vs Wheel Pose
Bridge pose and wheel pose are often confused, but they are distinct movements with different demands. Bridge pose is performed with the arms remaining on the floor by the sides of the body. The hips are lifted but the thoracic spine remains relatively flat. Bridge is an excellent exercise for glute and back extensor strength and is appropriate for beginners. Wheel pose (also called full backbend or Urdhva Dhanurasana) requires the arms to be extended overhead with the hands pressing into the floor, creating a full arch from the hands to the feet. Wheel demands significantly more shoulder flexibility and thoracic mobility than bridge.
Common Mistakes to Avoid
- Dumping into the lower back: The most common and most dangerous backbend mistake. If you feel compression or pinching in your lower back, you are over-extending the lumbar spine. Focus on opening the thoracic spine and chest instead.
- Not engaging the glutes: The glutes protect the lower back in backbends by stabilising the pelvis. Always squeeze your glutes actively throughout any backbend.
- Collapsing the knees outward: In wheel pose, the knees have a tendency to splay outward. Keep them hip-width apart and actively press them toward each other throughout the pose.
- Holding the breath: Tension in the breath creates tension in the spine. Breathe deeply and continuously throughout the backbend.
- Skipping the warm-up: Attempting a deep backbend with a cold spine is one of the most reliable ways to injure yourself. Always complete a thorough warm-up before any backbend training.
Safety Rules
Backbend training carries a higher injury risk than most flexibility disciplines because it involves the spine directly. The following rules are non-negotiable for safe practice. Never attempt a deep backbend without a thorough warm-up. Never force the spine into a deeper curve than it naturally wants to go. If you feel sharp, shooting, or electrical pain in your spine or down your legs, stop immediately and consult a physiotherapist before continuing. Progress is measured in months, not days.
Frequently Asked Questions
A backbend performed with correct technique and adequate preparation is not bad for your back. In fact, spinal extension exercises are often recommended by physiotherapists for people with disc-related lower back pain. The key is distributing the curve evenly across the spine rather than concentrating it in the lumbar region. Problems arise when people force the backbend without the necessary thoracic mobility and shoulder flexibility, causing the lower back to compensate.
For a complete beginner with average flexibility, achieving a full wheel pose typically takes three to six months of consistent daily practice. People with prior yoga, gymnastics, or dance experience may progress faster. The most important factors are the consistency of your preparatory stretching (particularly the chest and hip flexors) and the regularity of your progression work. Attempting to rush the process by skipping stages is the most common cause of setbacks.
Tight shoulders are one of the most common obstacles to wheel pose. The solution is consistent chest and shoulder stretching, particularly the doorway chest stretch and overhead shoulder stretches. Yin yoga poses such as puppy pose and supported fish pose are also highly effective for opening the chest and shoulders over time. Do not attempt wheel pose until you can comfortably place your hands on the floor beside your ears without your elbows flaring outward.
You should feel a stretch across the front of your body (chest, hip flexors, abdomen) and engagement in your back muscles and glutes. You should not feel sharp compression or pinching in your lower back. If you do, this indicates that your thoracic spine or hip flexors are too tight and the lower back is compensating. Ease out of the backbend and focus on the preparatory stretches before attempting again.
Yes, absolutely. Adults of any age can improve their spinal mobility and work toward deeper backbends, though the timeline may be longer and the approach more gradual. The preparatory stretches and early stages of the progression are appropriate for most adults regardless of age. The key is progressing slowly, listening to your body, and working with a qualified instructor who can tailor the approach to your individual needs and any existing conditions.
Want to work on your backbend?
Our Stretch & Mobility and Yoga classes at UNDRGRND Movement include dedicated backbend training with expert guidance. Book your class today.
Buy Now